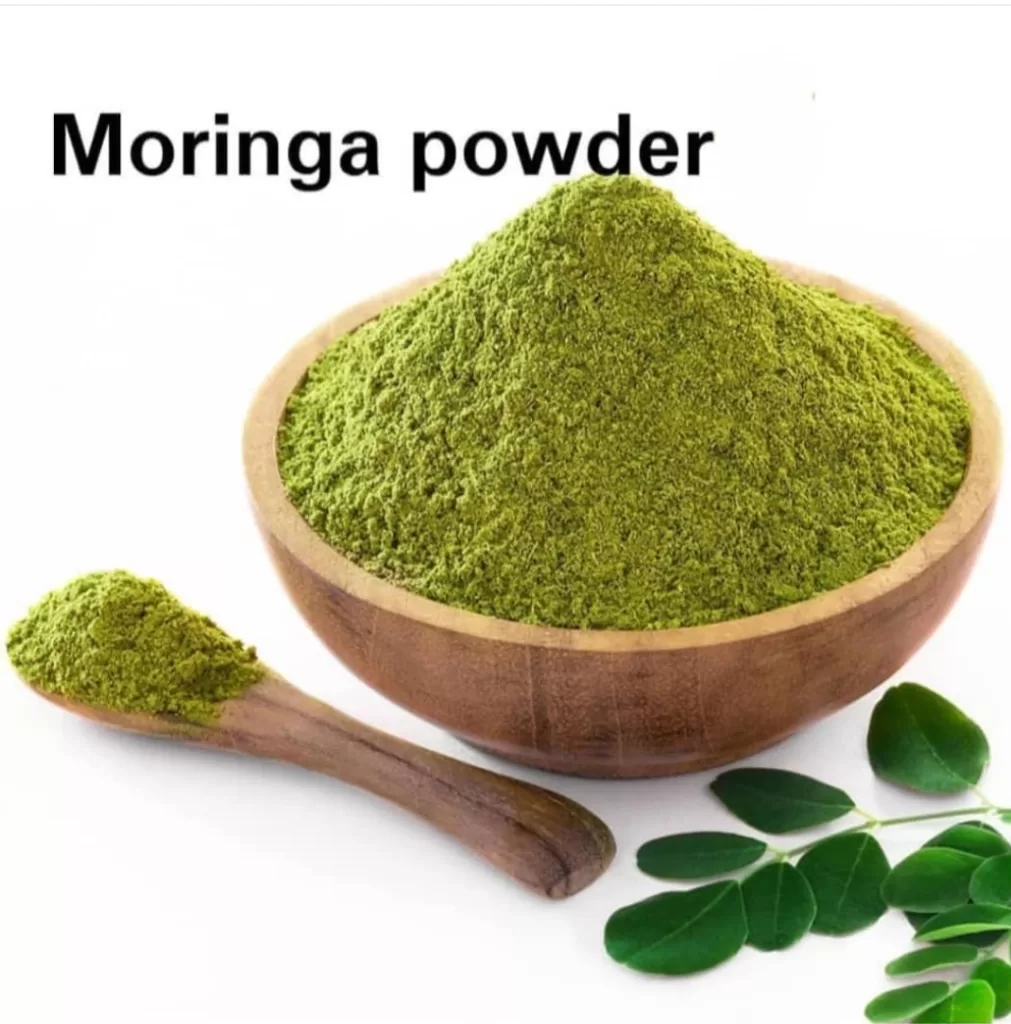
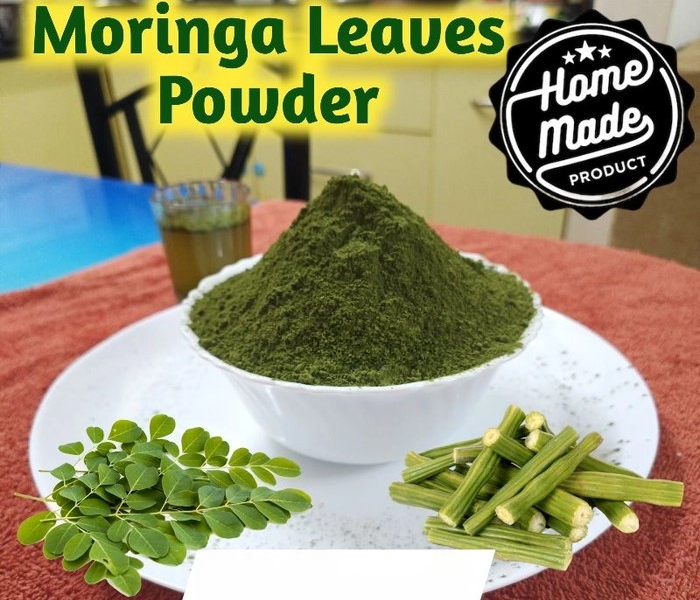
A simple and easy way to make your own moringa powder at home
Prof. Aécio D’Silva, Ph.D
AquaUniversity
Moringa powder is a nutritious and versatile superfood that can be added to smoothies, soups, salads, and more. Learn how to process moringa leaves into powder with this step-by-step guide.

Moringa is a fast-growing tree that is native to Africa and Asia. It has been used for centuries as a source of food, medicine, and animal feed. Moringa leaves are especially rich in protein, vitamins, minerals, antioxidants, and anti-inflammatory compounds. Moringa powder is made from dried and ground moringa leaves, and it can be stored for a long time without losing its nutritional value.
This powder can be used for various purposes, such as boosting your immune system, improving your digestion, lowering your blood pressure, and enhancing your energy levels. You can also use moringa powder to make moringa tea, moringa oil, moringa capsules, or moringa soap. Moringa powder is a great way to incorporate moringa into your daily diet and enjoy its health benefits.
In this Collaborative Intelligence post, we will show you how to process moringa leaves into powder at home, using simple and easy methods. You will need the following items:
- Fresh moringa leaves
- A knife or scissors
- A pot of water
- A bowl of ice water
- A strainer or colander
- A food dehydrator or an oven
- A blender or a coffee grinder
- A sieve or a mesh strainer
- A glass jar or an airtight container
Moringa powder – How to process moringa leaves into powder: step by step
Step 1: Harvest and wash the moringa leaves
The first step is to harvest and wash the moringa leaves. You can either use your own moringa tree or buy fresh moringa leaves from a local farmer or a health store. To harvest the moringa leaves, you can either cut the whole branch or pick the individual leaves from the stem. Make sure you choose healthy and green leaves and avoid any yellow or damaged ones.
To wash the moringa leaves, you can either rinse them under running water or soak them in a bowl of water for a few minutes. This will help to remove any dirt, dust, or insects from the leaves. You can also add some salt or vinegar to the water to disinfect the leaves and kill any bacteria or fungi.
Step 2: Blanch the moringa leaves
The second step is to blanch the moringa leaves. Blanching is a process of briefly boiling and cooling the leaves, which helps to preserve their color, flavor, and nutrients. Blanching also helps to reduce the drying time and prevent the growth of mold or bacteria.
To blanch the moringa leaves, you will need a pot of water, a bowl of ice water, and a strainer or colander. Here is how to do it:
- Bring a pot of water to a boil and add some salt to it.
- Prepare a bowl of ice water and set it aside.
- Add the moringa leaves to the boiling water and let them cook for about one minute.
- Drain the moringa leaves and immediately transfer them to the ice water to stop the cooking process.
- Drain the moringa leaves again and pat them dry with a clean cloth or paper towel.
Step 3: Dry the moringa leaves
The third step is to dry the moringa leaves. Drying is a process of removing the moisture from the leaves, which makes them crisp and easy to grind. Drying also helps to extend the shelf life and prevent the spoilage of the moringa powder.
To dry the moringa leaves, you can either use a food dehydrator or an oven. Here is how to do it:
- If you are using a food dehydrator, spread the moringa leaves in a single layer on the dehydrator trays and set the temperature to 50°C or 120°F. Dehydrate the moringa leaves for about 8 to 12 hours, or until they are completely dry and brittle. You can check the progress by bending or breaking a leaf. If it snaps easily, it is ready.
- If you are using an oven, preheat the oven to 50°C or 120°F and line a baking sheet with parchment paper. Spread the moringa leaves in a single layer on the baking sheet and bake them for about 2 to 3 hours, or until they are completely dry and brittle. You can check the progress by bending or breaking a leaf. If it snaps easily, it is ready.
Step 4: Grind the moringa leaves
The fourth step is to grind the moringa leaves. Grinding is a process of turning the dried leaves into a fine powder, which makes it easier to use and store. Grinding also helps to release the flavor and aroma of the moringa powder.
To grind the moringa leaves, you can either use a blender or a coffee grinder. Here is how to do it:
- If you are using a blender, add the moringa leaves to the blender jar and pulse until they are finely ground. You may need to do this in batches, depending on the size of your blender. You can also use a tamper or a spatula to push down the leaves and scrape the sides of the jar.
- If you are using a coffee grinder, add the moringa leaves to the grinder and grind until they are finely ground. You may need to do this in batches, depending on the size of your grinder. You can also use a spoon or a brush to stir the leaves and clean the grinder.
Step 5: Sift and store the moringa powder
The fifth and final step is to sift and store the moringa powder. Sifting is a process of removing any large pieces or stems from the powder, which makes it smoother and more uniform. Storing is a process of keeping the moringa powder in a dry and cool place, away from light and air, which helps to maintain its quality and freshness.
To sift and store the moringa powder, you will need a sieve or a mesh strainer, and a glass jar or an airtight container. Here is how to do it:
- Place the sieve or the strainer over a bowl and pour the moringa powder into it. Shake or tap the sieve or the strainer to let the fine powder pass through. Discard any large pieces or stems that remain in the sieve or the strainer.
- Transfer the moringa powder to the glass jar or the airtight container and seal it tightly. Label the jar or the container with the date and the name of the product.
- Store the moringa powder in a dry and cool place, away from direct sunlight and heat. You can also store it in the refrigerator or the freezer to extend its shelf life.

In conclusion, moringa powder is a nutritious and versatile superfood that can be made at home with simple and easy methods. By following these steps, you can process moringa leaves into powder and enjoy its health benefits. You can use moringa powder to make smoothies, soups, salads, and more, or take it as a supplement. Moringa powder is a great way to boost your immune system, improve your digestion, lower your blood pressure, and enhance your energy levels.
References
[1] Moringa: The Miracle Tree. (n.d.). Retrieved from https://www.moringatrees.org/
[2] Muthoni, J., & Onguso, J. (2018). Moringa oleifera: A review of the medicinal potential and its cultivation in Kenya. African Journal of Horticultural Science, 12, 1-18.
[3] How to Make Moringa Powder : 7 Steps – Instructables. (n.d.). Retrieved from https://www.instructables.com/How-to-Make-Moringa-Powder/
[4] How to Make Moringa Powder – Morning Gardens. (n.d.). Retrieved from https://morningardens.com/blogs/morning-digest/how-to-make-moringa-powder/
[5] How To Make Moringa Powder? – The Food Untold. (2020, July 12). Retrieved from https://thefooduntold.com/food-science/how-to-make-moringa-powder/


